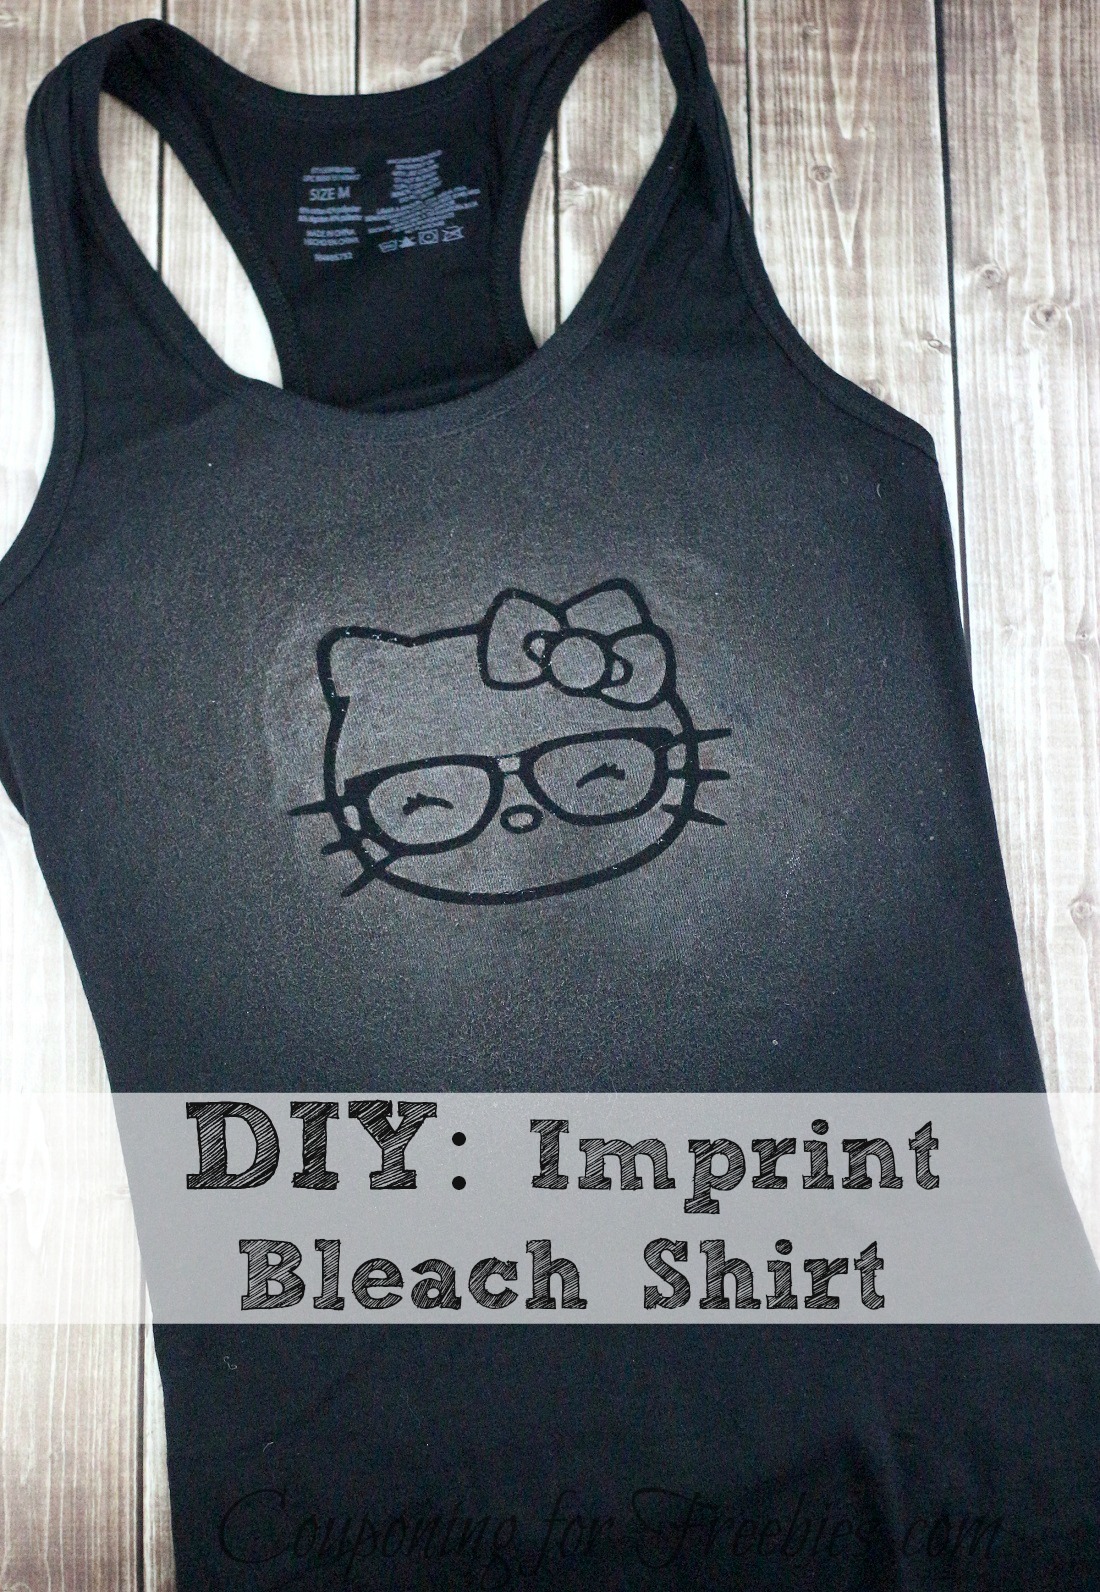
DIY Imprint Bleach Shirt
Ready to do a fun and fashionable craft? If you like to make things and crafting then you will love this project. I am going to show you how to make a basic shirt into a fun and fashionable Imprint Bleach Shirt. It is pretty easy to do and only takes a few minutes. The longest time is the drying time unless you use a hair dryer to speed it up. Anyways, lets get started.
DIY Imprint Bleach Shirt
Supplies:
- Dark Colored Cotton Shirt (New Or Old)
- Vinyl Sticker Decal
- Spray Bottle
- Bleach
- Card Board
Directions:
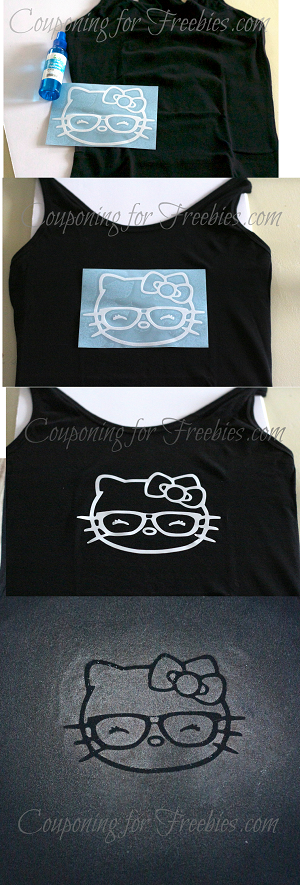
Place a piece of cardboard between the front and back of shirt to prevent bleach from bleeding through to the back of the shirt. Remember you can use a new or old shirt to do this craft.
Smooth out any wrinkles and decide on the placement of the decal. Then carefully place decal on shirt, smoothing out any wrinkles as you go.
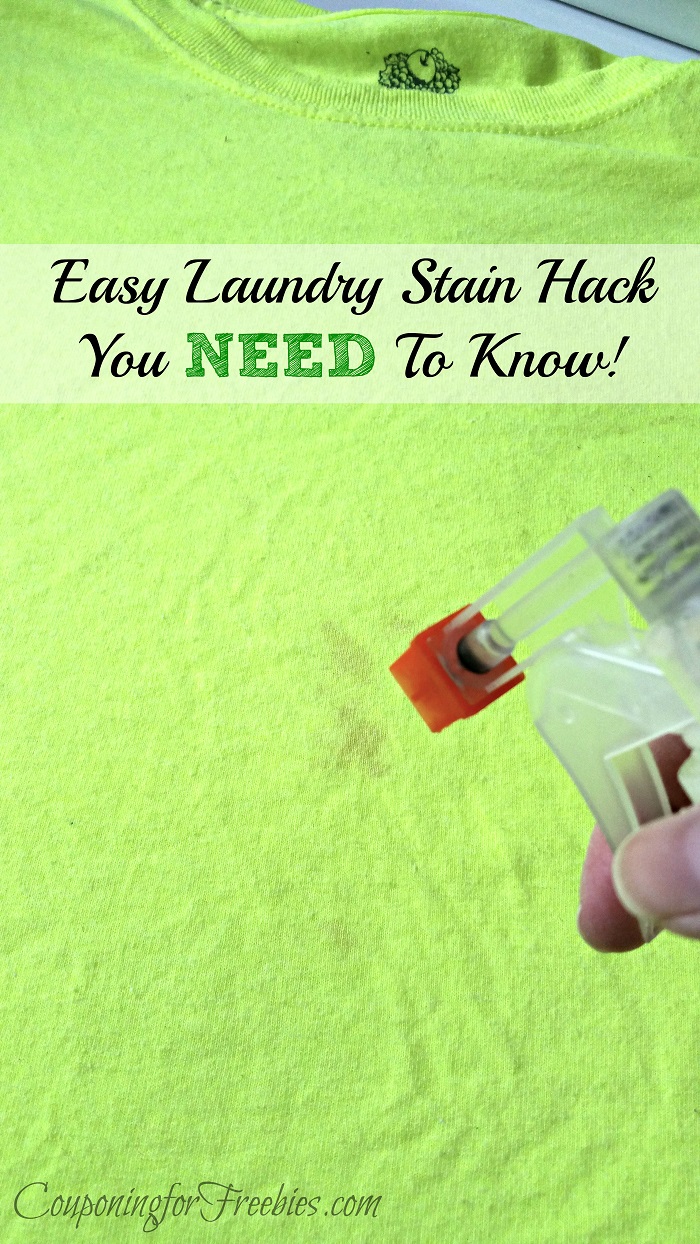
Lightly spray the area of the decal and around it. Allow to dry completely. Repeat spraying the area and allowing to dry until desired color is achieved.
If you want to speed up the drying process, use a blow dryer set on low to speed. After you have the color you want and the shirt is dry, remove the decal and wash the shirt by on its own before wearing.
Like this fun and easy DIY Imprint Bleach Shirt craft? Be sure to check out more of our craft ideas in our craft category. If you have one you would like to share, feel free to leave it in the comments below.