DIY Rocket
Posted by helper Cady
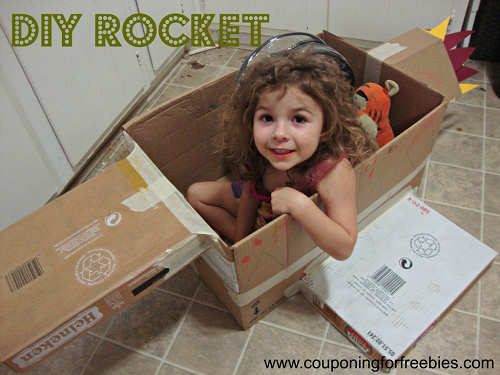
When my husband was a kid, he and his dad made a rocket. And, that was one thing that my husband wanted to do with our daughter. So, he brought home a big box and some box lids from work one day and asked her if she wanted to make a rocket with him. Did she? Heck yeah!
They had a blast making this together – it’s a memory I know my husband will never forget.
What you need:
1 large box
3 box lids
Piece of cardboard
Yellow and red cardstock or construction paper
Masking or packing tape
What you do:
1. Tape down the bottom of your large box so it doesn’t come open.
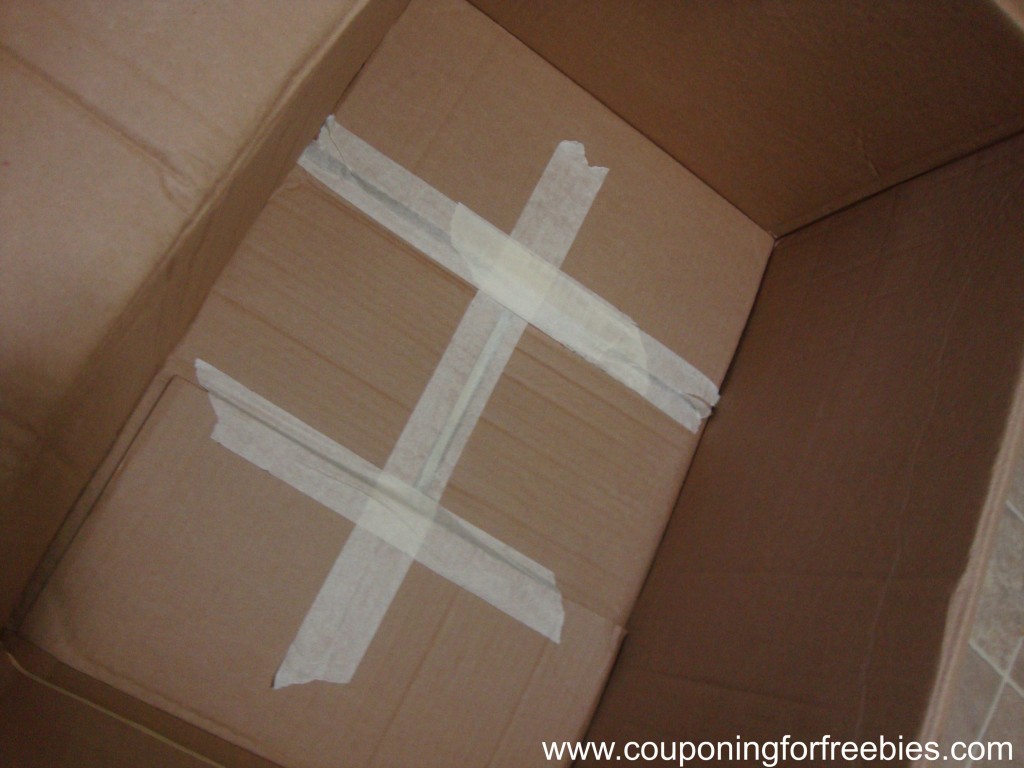
2. Attach one box lid to the front of the rocket for the nose.
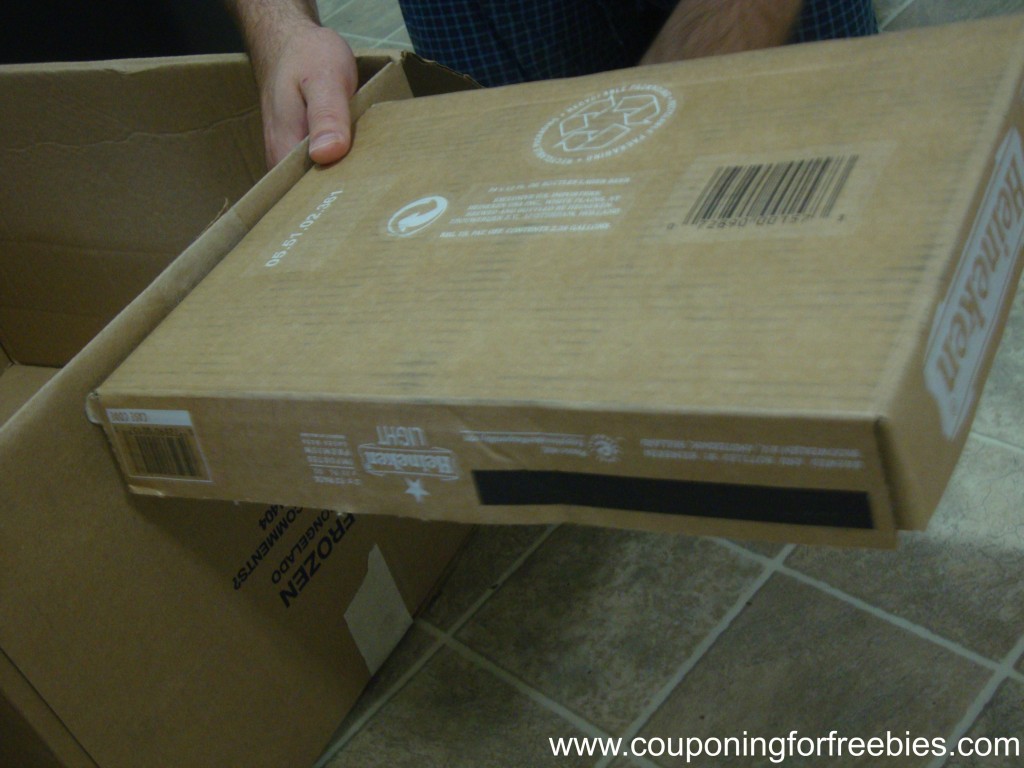
3. Attach the other two box lids to each side of your box for the wings.
4. Bend your piece of cardboard to create a tail for your rocket, and attach that to the back.
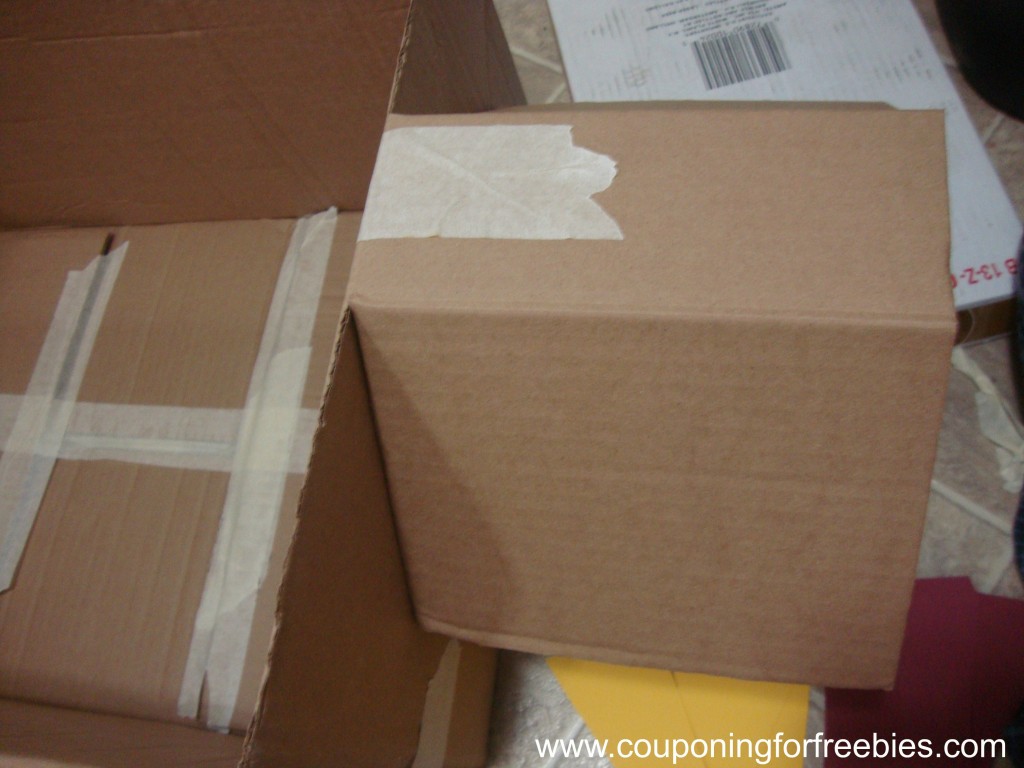
5. Cut triangles out of your card stock and attach them to the underside of your rocket tail to make flames. This makes it look pretty cool!
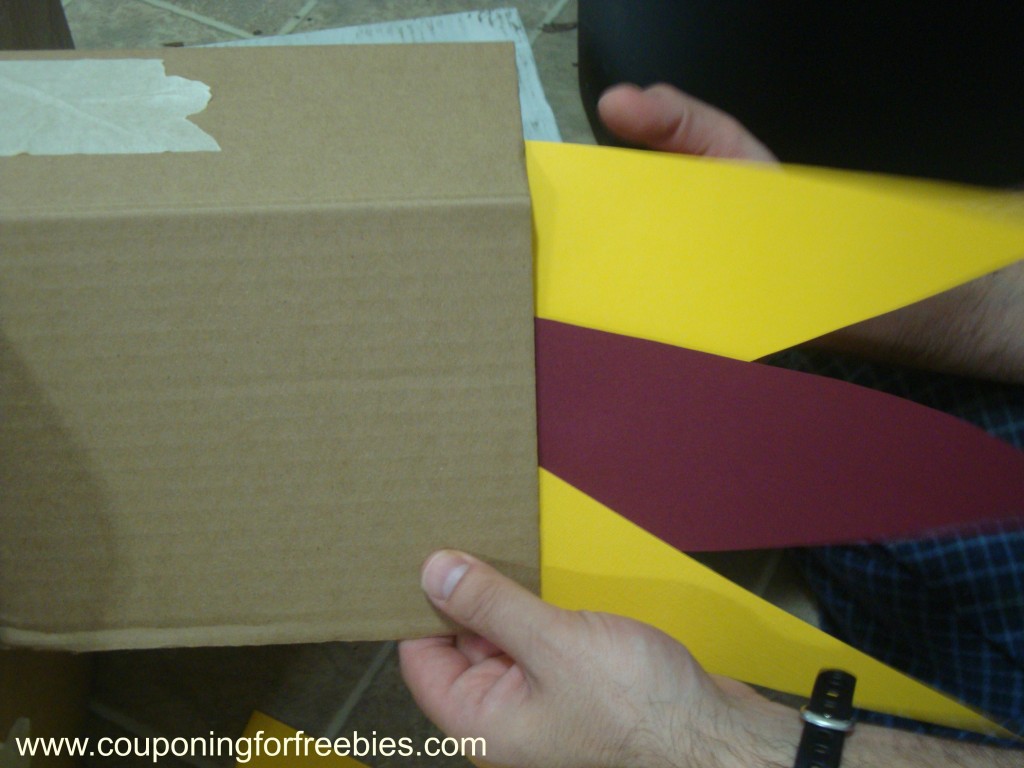
6. Let your child decorate and design the rocket. We named ours The Dizzy after one of our cats!
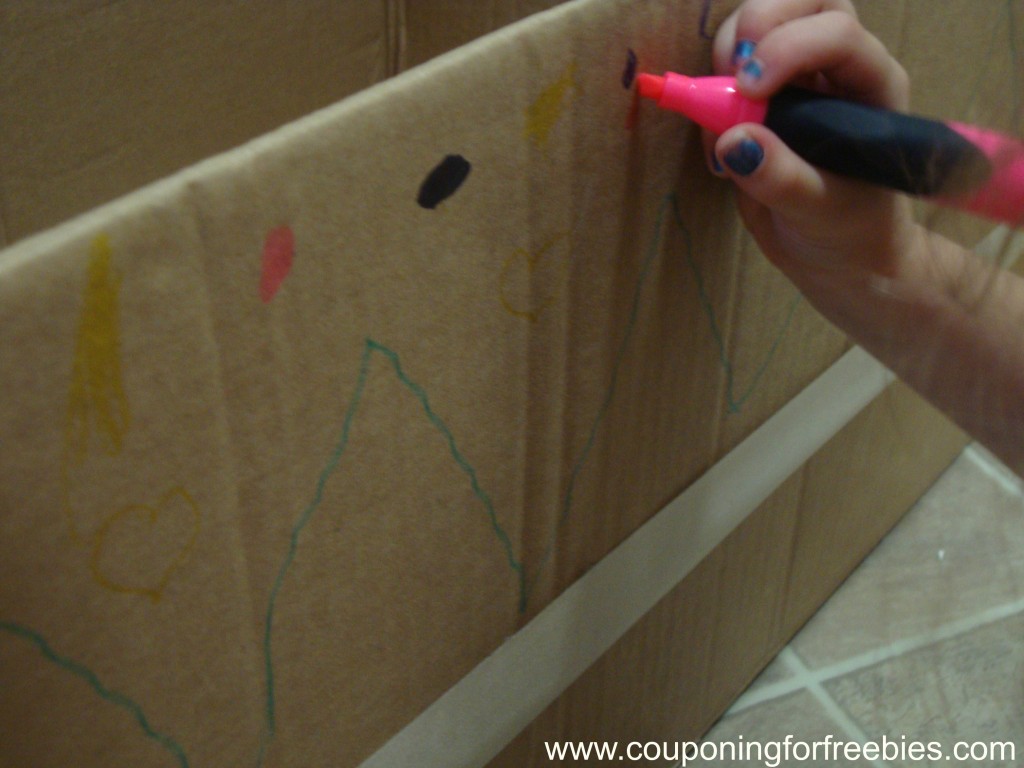
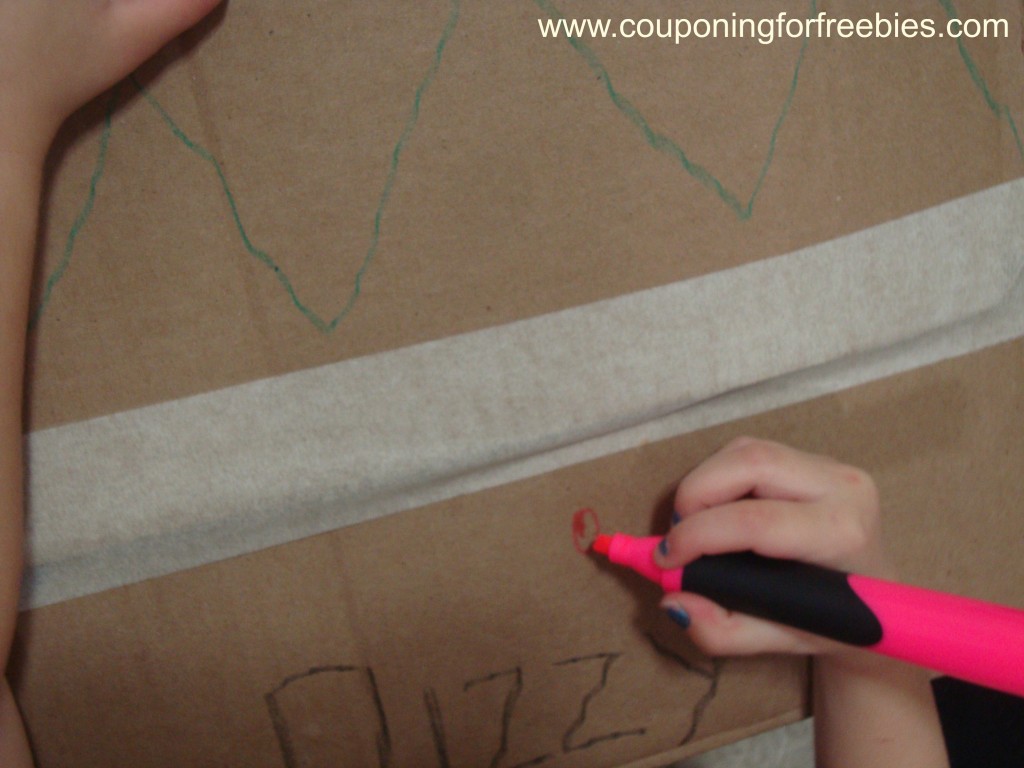
And, this is your finished project: a fun DIY rocket!
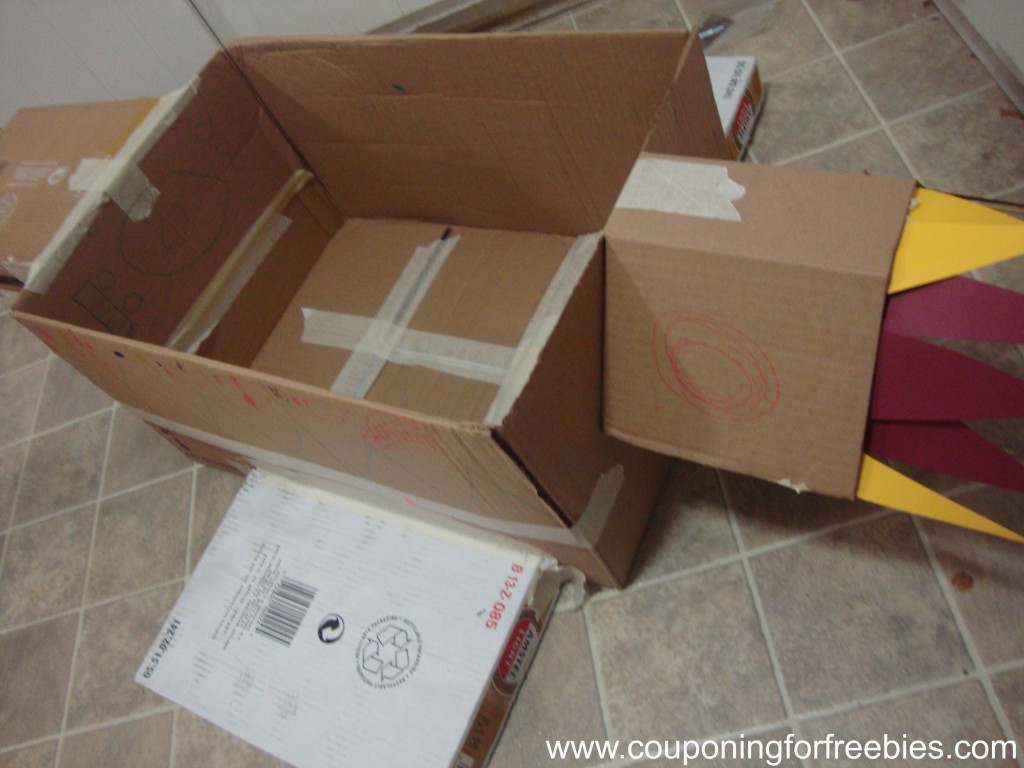
Also, don’t forget to draw your control panels on the inside front!
This was SUCH a fun project! My daughter LOVED getting to color on the box to decorate it, and she had so much fun playing in it and flying to space with her BFF, Tigger!
This is a fun weekend or rainy day project to work on with your kiddo – I know you’ll have a lot of fun together!
Going to try this one out? Make sure you come back and let us know how it turned out!

